ZKBio Time Setup Guide
Learn how to connect devices and manage workflows efficiently with ZKBio Time.
Adding Devices
Step‑by‑step instructions on connecting devices to ZKBio Time.
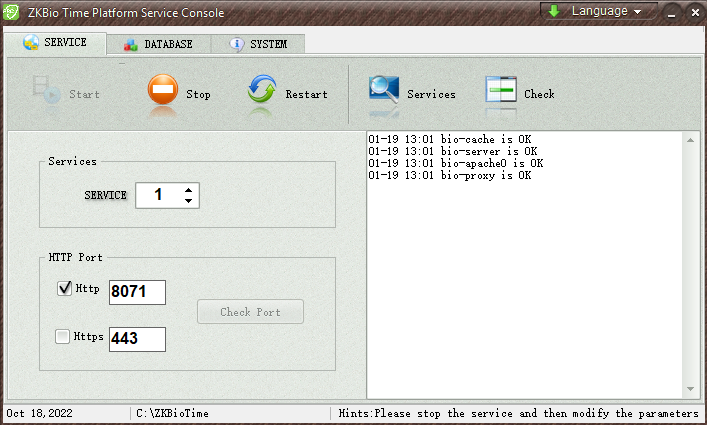
Port Settings
By default, BioTime installs on port 80, but it’s recommended to change it to another free port, e.g. 8330. Open the port only if the device is on a different subnet.
Time Attendance Operation Mode
Make sure the terminal is switched to T&A mode (Menu → System → “Switch Operation Mode”). If the menu is missing and the terminal won’t connect with otherwise correct settings, contact your supplier.
Cloud Server Settings
In the terminal’s “Cloud Server Settings”, enter the PC address where BioTime is installed and the chosen port. Disable HTTPS unless a certificate is installed and HTTPS is enabled on the server.
Additional Settings
On some terminals the HTTPS option sits under “PC Connection Settings” rather than “Cloud Server Settings”. Connection changes take effect without reboot; switching operation mode or HTTPS prompts an automatic reboot. Note: changing device type erases all user data.
Time and Attendance Setup
T&A lets you configure both fixed and flexible work schedules for employees.
1. Basics & Terminology
To generate accurate attendance reports, understand these key concepts:
- Schedule: the employee’s working period.
- Shift: how often the schedule repeats (day/week/month).
- Timetable: assigning a schedule to an employee or department.
- Break: time excluded from total working hours.
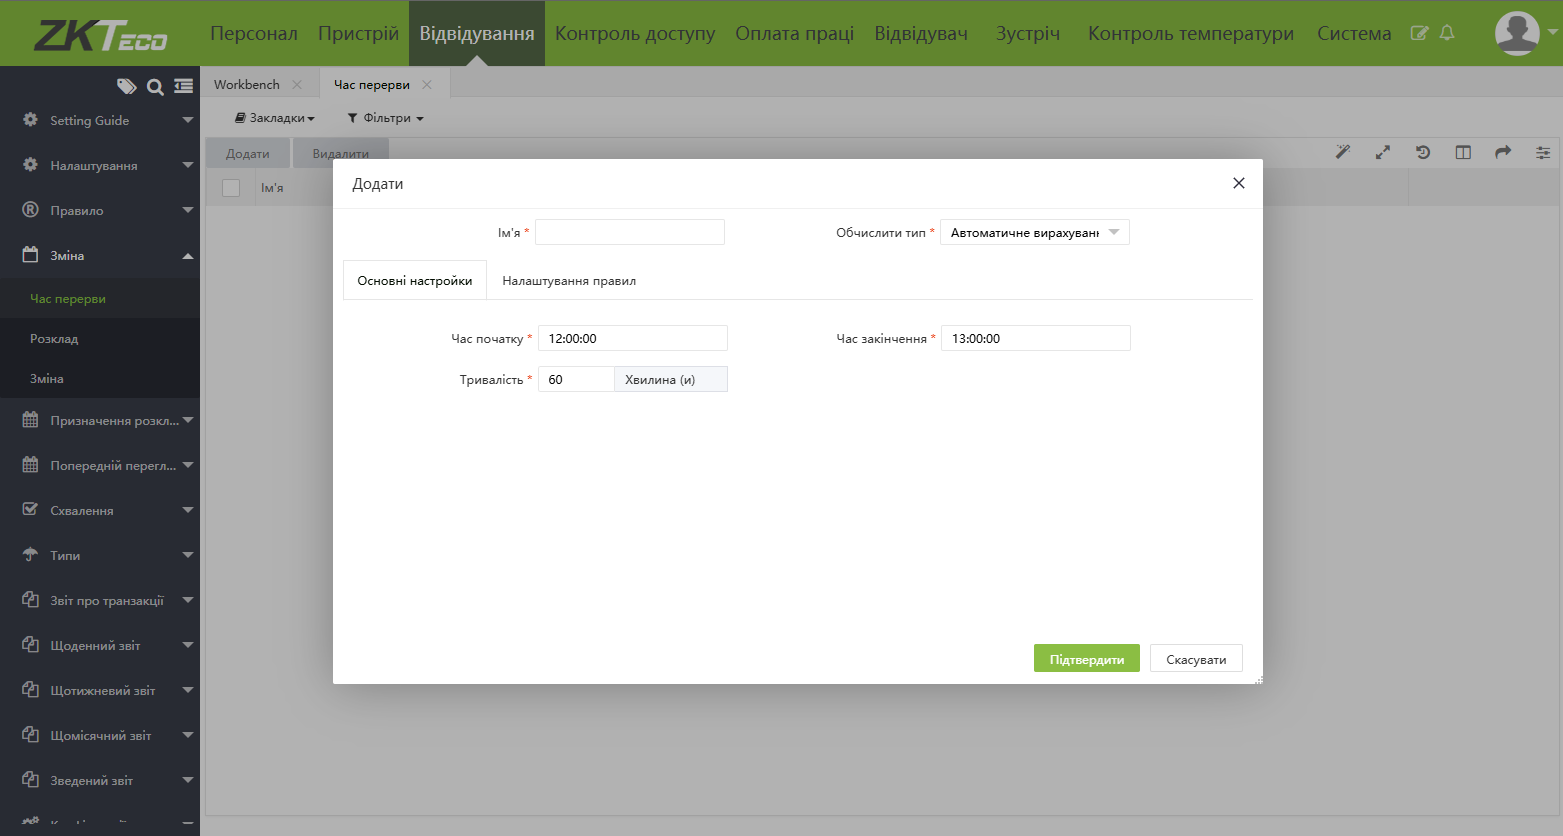
2. Configuring Breaks
To create a break:
- Go to Attendance → Shifts → Breaks.
- Click “Add”.
- Fill in the form:
- Select break type (paid / unpaid).
- Set start and end time.
- Click “Save”.
3. Creating Schedules
You can create two schedule types: fixed and flexible.
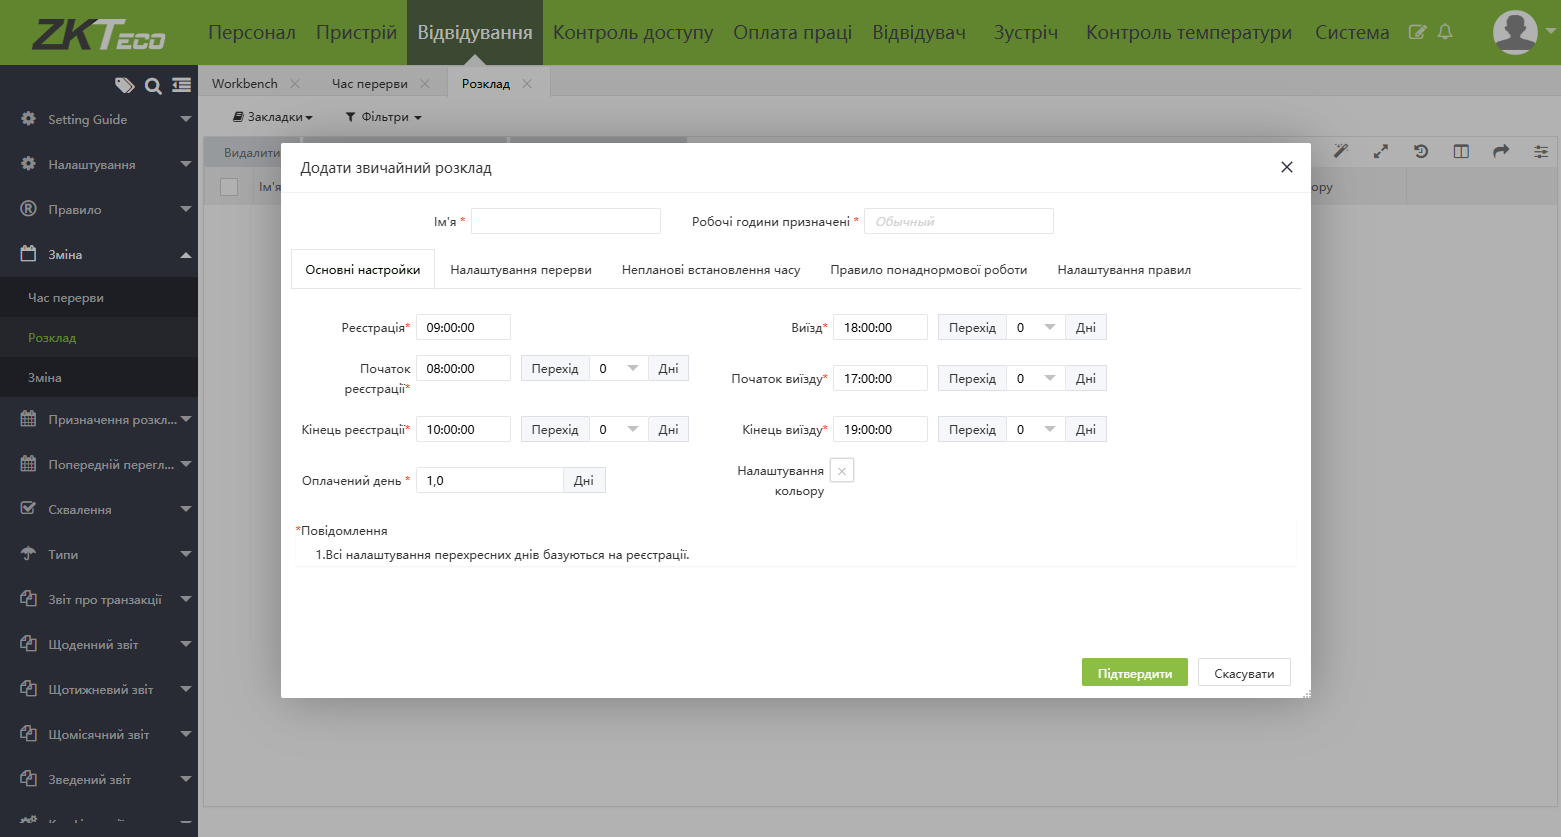
3.1 Fixed Schedule
- Attendance → Shifts → Schedule → Add.
- Specify:
- Start / end of workday.
- Days of the week the schedule applies.
- Click “Save”.
3.2 Flexible Schedule
- Attendance → Shifts → Schedule → Add.
- Select “Flexible Schedule”.
- Fill in the form:
- Workday duration.
- Allowed working hours.
- Click “Save”.

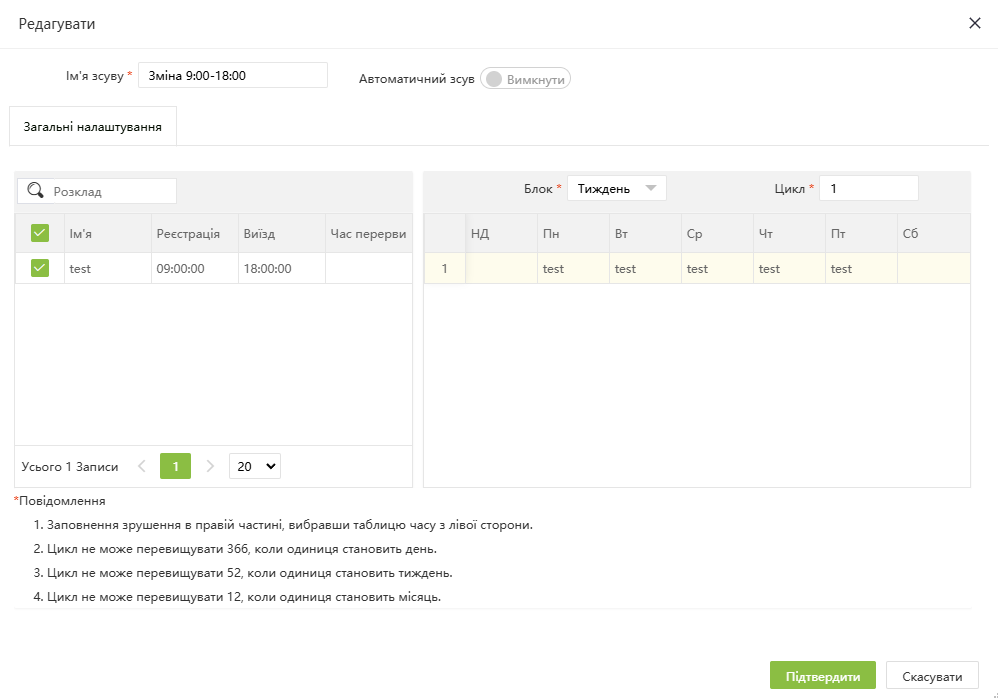
3.3 Shifts
Shifts define how schedules repeat. To create a shift:
- Attendance → Shift → Add.
- Select schedule and days.
- Choose period (day / week / month).
- Click “Save”.
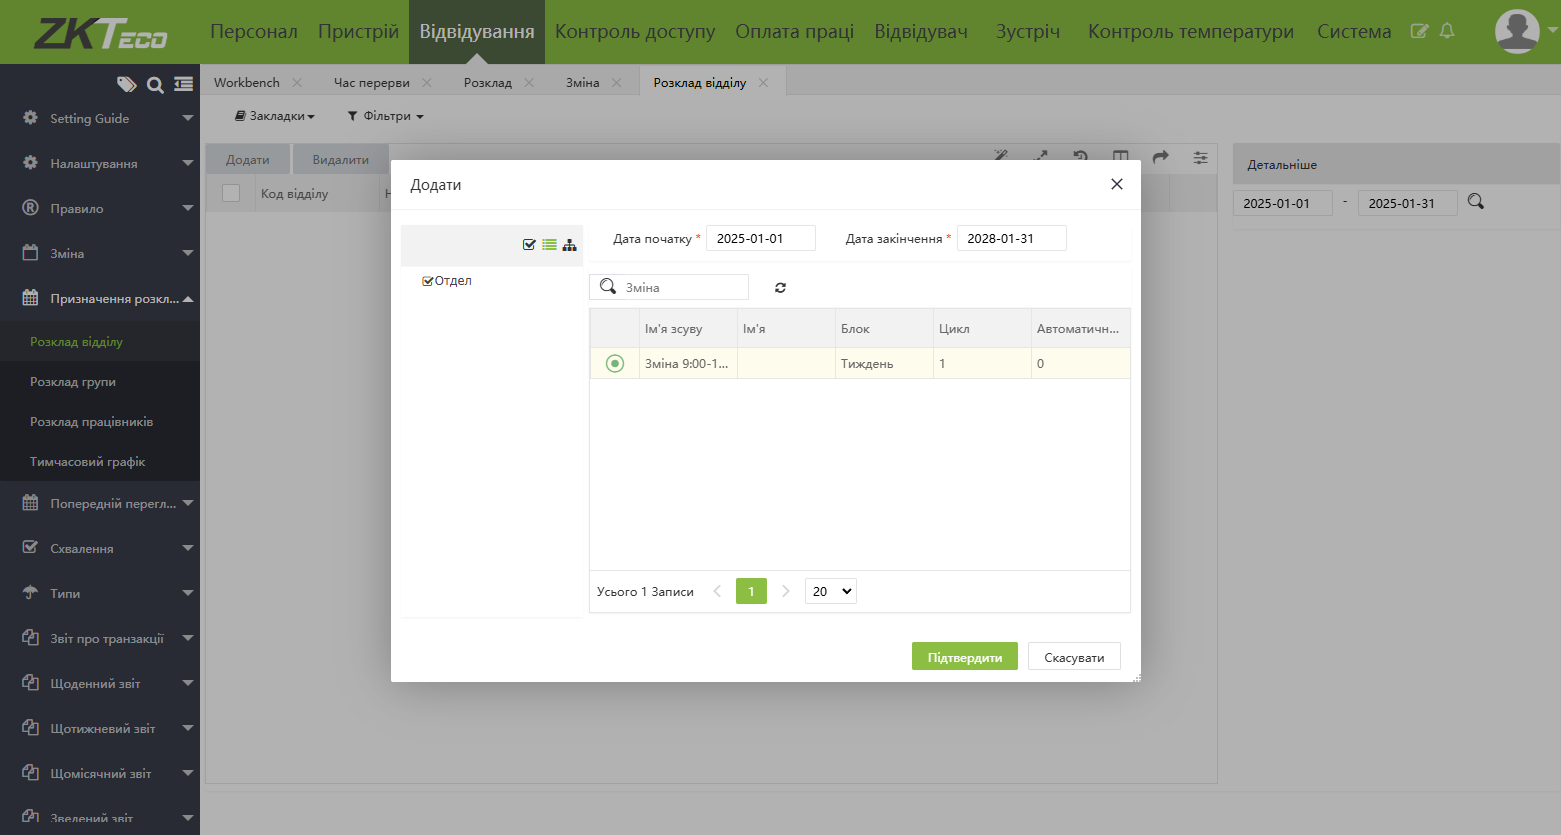
After saving, assign the shift to employees:
- Attendance → Assign Schedule → Department Schedule → Add.
- Select department and shift.
- Set validity period.
- Click “Save”.
4. Reports
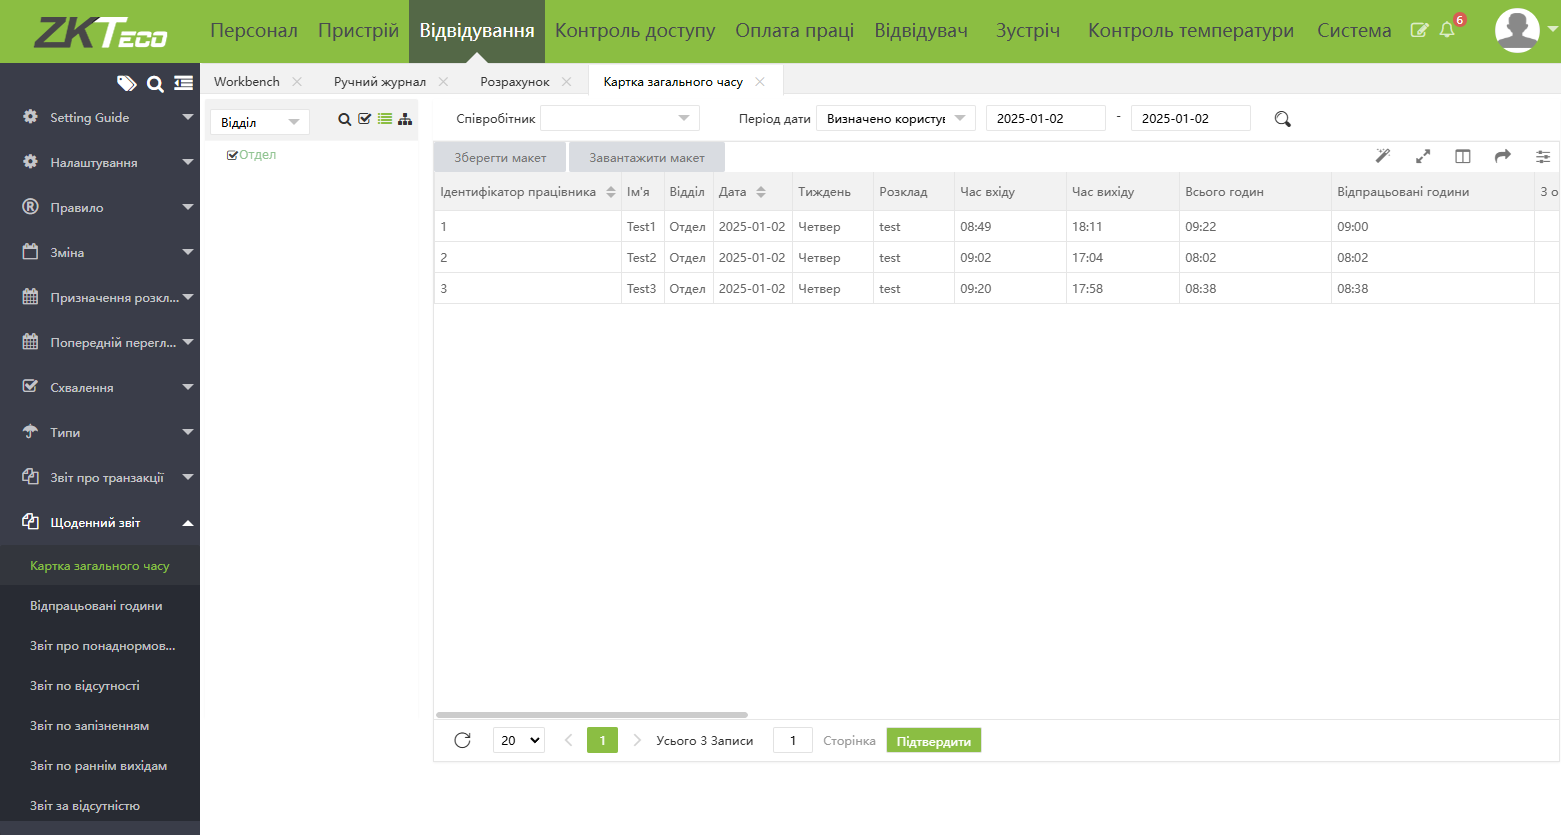
Once configured, the software generates reports automatically. To view them:
- Attendance → Daily Report → General Time Card.
- Select department and date range.
- Click the magnifier icon.
E‑mail Report Delivery
To send reports automatically via e‑mail, configure the SMTP server and create a task.
SMTP Configuration
- Enable SMTP access in your e‑mail account.
- System → Configuration → System Settings → E‑mail Settings.
- Fill in:
- SMTP server and port.
- Sender e‑mail address.
- E‑mail password.
- Click “Test” to verify connection.
Automatic Report Sending
- Open Automatic Export.
- Create a task:
- Select report format (Excel, PDF).
- Set data filters.
- Choose send time.
- Add recipient addresses.
- Save the task to activate auto‑sending.